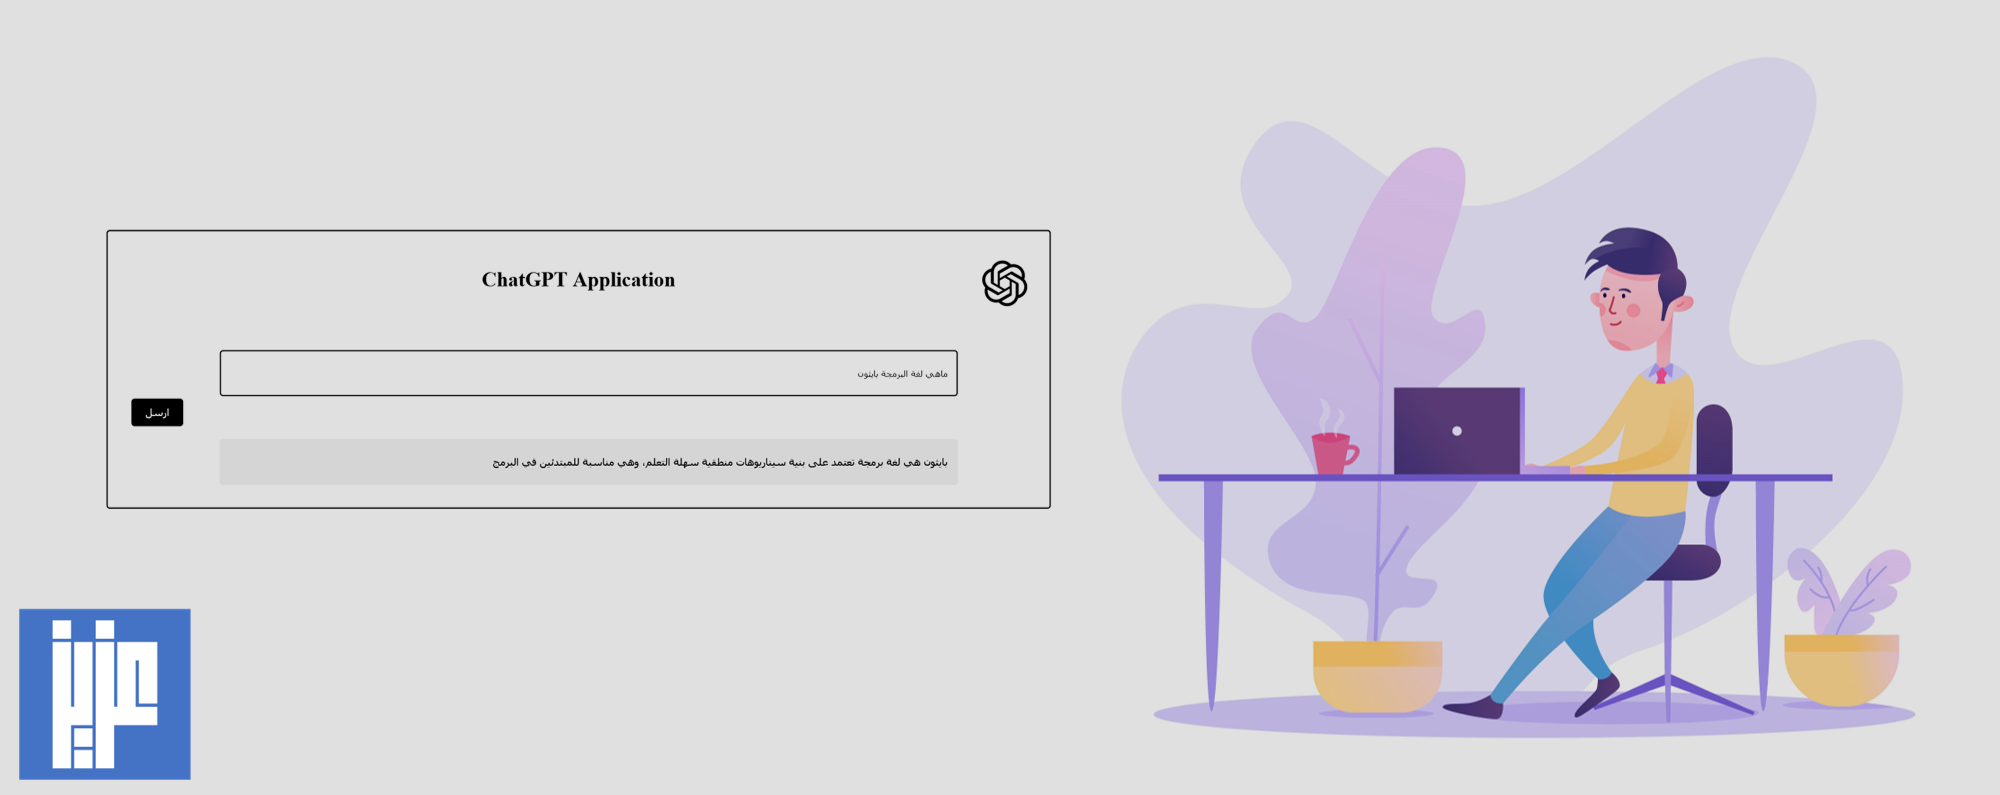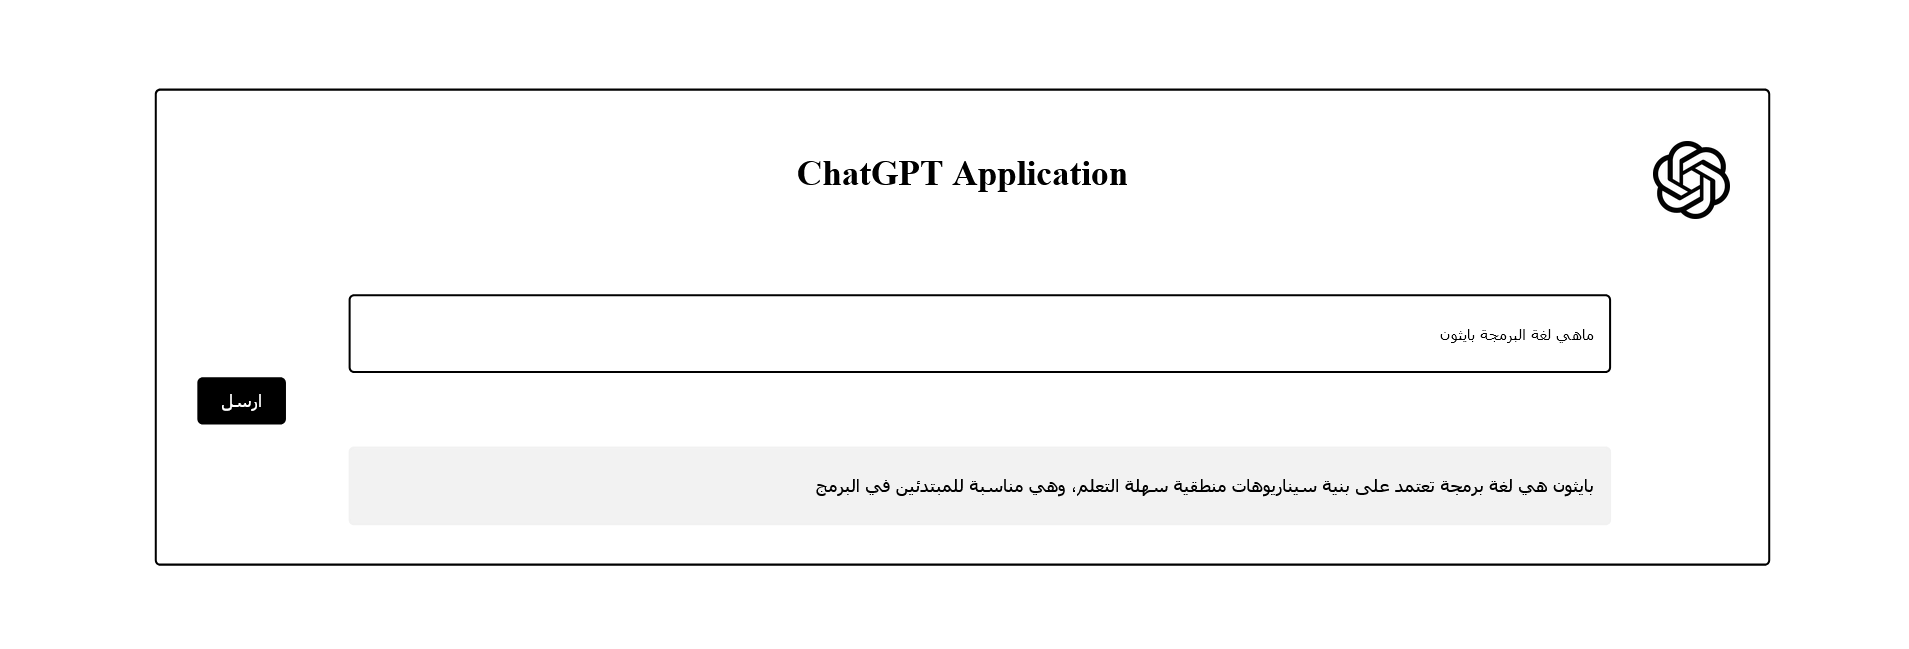
في هذا المقال سوف نستعرض بناء تطبيق دردشة (chatbot) وذلك من خلال تطوير تطبيق باستخدام مكتبة داش (Dash) في بايثون وربطه مع ChatGPT المُطور من قبل شركة OpenAI. في البداية نحتاج الى تسجيل حساب في موقع: https://openai.com للحصول على API يمكن من خلاله الربط مع الخدمة. بعد ذلك يمكن استخدام الكود التالي:
import dash
from dash import dcc
from dash import html
from dash.dependencies import Input, Output
import openai

# Set the OpenAI info
openai.api_key = '********'  # Replace this with your OpenAI API key
model_engine = '********' # Replace this with your OpenAI engine, or use "text-davinci-003"

# Create the Dash application
app = dash.Dash(__name__)
# Define the layout
app.layout = html.Div(children=[
    html.Div(children=[
        # App Title
        html.H1(
            children='ChatGPT Application',
            style={
                'textAlign': 'center',
                'color': 'black'
            }
        ),

        # Logo
        html.Img(src='/assets/logo.png', style={'height':'5%', 'width':'5%','float': 'right','marginTop': '-5%'}),

        # User's text input field
        dcc.Input(id='user-input', type='text', placeholder='أكتب رسالتك هنا ...',
                  style={
                      'width': '80%',
                      'height': '40px',
                      'lineHeight': '40px',
                      'borderRadius': '5px',
                      'border': '2px solid black',
                      'direction': 'rtl',
                      'marginLeft': '10%',
                      'padding': '1%',
                      'marginTop': '5%'

                  }),

        # Submit button
        html.Button('ارسل', id='submit',
                    style={
                        'display': 'block',
                        'marginRight': '10px',
                        'background': 'black',
                        'color': 'white',
                        'border': '2px solid black',
                        'borderRadius': '5px',
                        'padding': '10px 20px',
                        'textAlign': 'center',
                        'textDecoration': 'none',
                        'fontSize': '16px',
                        'margin' : '4px 2px',
                        'cursor' : 'pointer'
                    }),

        # Response area
        html.Div(id='openai-response',
                 style={
                     'backgroundColor': '#f2f2f2f2',
                      'width': '80%',
                      'height': '40px',
                      'lineHeight': '40px',
                      'borderRadius': '5px',
                      'border': '2px solid #f2f2f2f2',
                      'direction': 'rtl',
                      'marginLeft': '10%',
                      'marginTop': '20px',
                      'padding': '1%',
                     'fontFamily': 'Tahoma'
                 })
       ],

        # Style of the app
        style={
            'width': '80%',
            'margin': 'auto',
            'border': '2px solid black',
            'borderRadius': '5px',
            'padding': '2%',
            'marginTop': '5%',
            'backgroundColor': 'white'
        })
])

# Define callback to update the response area
@app.callback(
    Output('openai-response', 'children'),
    [Input('submit', 'n_clicks')],
    [dash.dependencies.State('user-input', 'value')]
)
def update_output(n_clicks, value):
    # If the submit button hasn't been clicked yet
    if n_clicks is None:
        return '...'
    else:
        # If the submit button has been clicked, send the user's message and get the response
        response = openai.Completion.create(
          engine=model_engine,
          prompt=value,
          temperature=0.5,
          max_tokens=100
        )
        # Return and display the response
        return response.choices[0].text.strip()

# Run the application
if __name__ == '__main__':
    app.run_server(host= '0.0.0.0',port=5588)
والذي يعطي النتيجة التالية:
 ملاحظة: القيم المحددة في الكود أعلاه باللون الأحمر يمكن تغييرها وهي:
(1) openai.api_key: هو API يسمح للمطورين بربط ChatGPT مع تطبيقاتهم.
(2) model_engine: هو نموذج الذكاء الإصطناعي ويجب أن يتناسب مع حالة الأستخدام المستهدفة مثل الدردشة، الصوت الى نص وغيرها. التفاصيل من خلال الرابط.
(3) Temperature: هي معلمة تتحكم في الإبداع أو التركيز للنص الذي يتم توليده بواسطة ChatGPT. تؤدي قيمته المرتفعة (على سبيل المثال، 0.7) إلى مخرجات أكثر تنوعًا وإبداعًا، في حين أن قيمته المنخفضة (على سبيل المثال، 0.2) تجعل المخرجات أكثر تحديدًا وتركيزًا.
(4) max_tokens: هي معلمة تتحكم في طول مخرجات ChatGPT.
(5) logo.png: ملف الوجو ويخزن في مجلد assets
(6) fontFamily: ملف الخط ويخزن في مجلد assets
